

education guide
How to Measure a Box
How to measure a box correctly: length, width, depth order, interior vs. exterior dimensions, dimensional weight, and a worked example from our team.
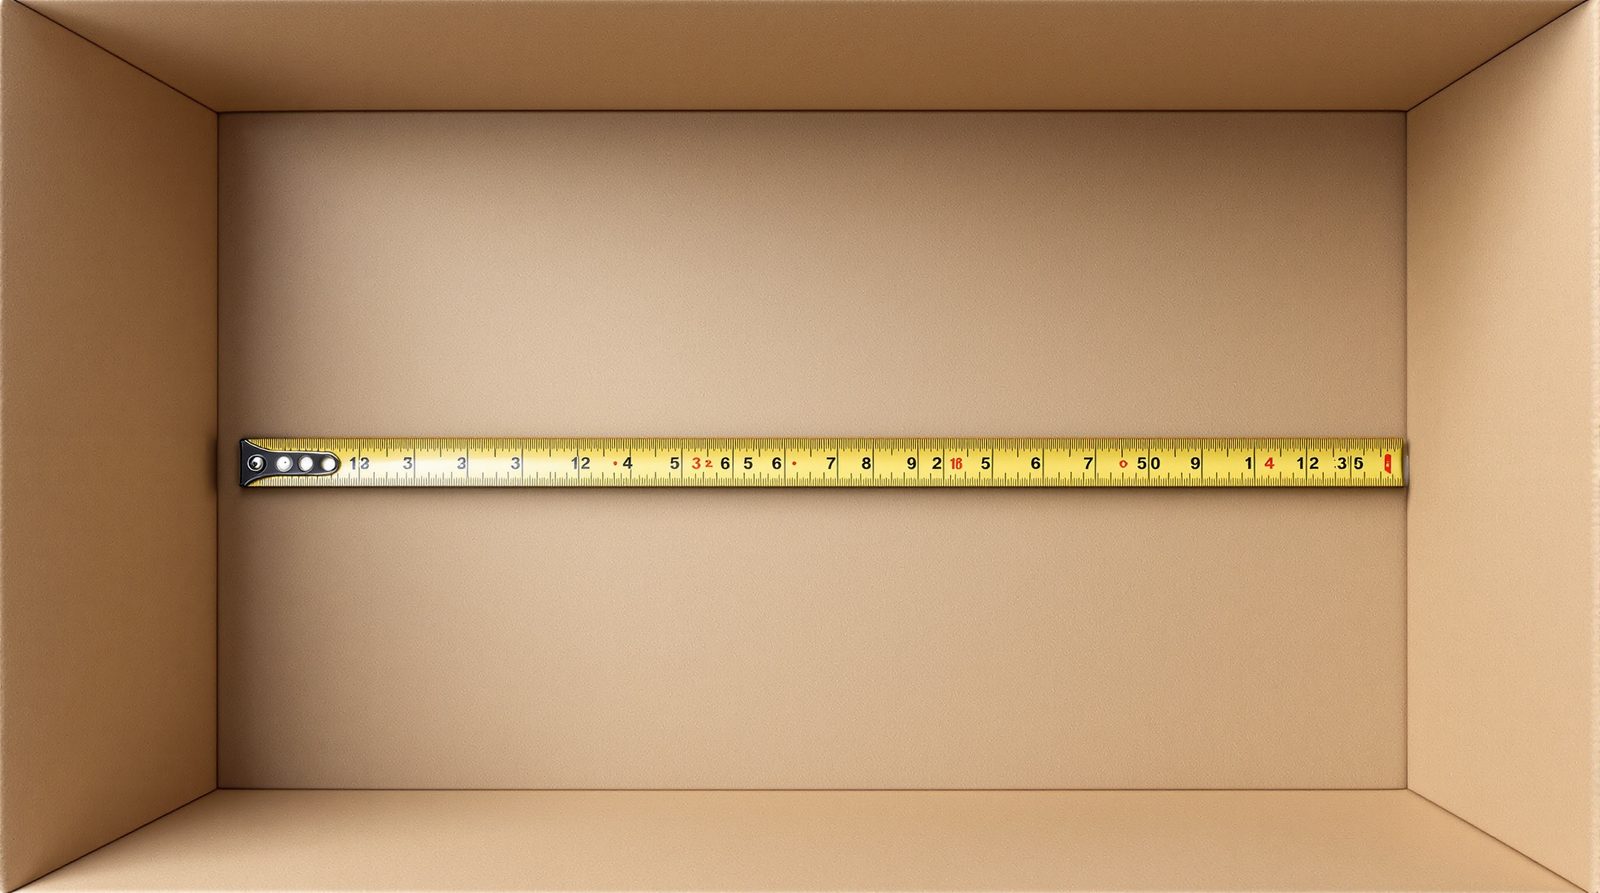
Quick answer: Measure a box as Length × Width × Depth (L × W × D), always in that order. Length is the longer side of the opening face, width is the shorter side of that same face, and depth (sometimes called height) is the dimension running from the opening down to the bottom. Then decide which surface you're measuring from: interior dimensions (inside wall to inside wall — what actually fits inside the box) or exterior dimensions (outside wall to outside wall — what the box takes up on a shelf, in a case, or on a pallet). The two numbers are never identical, and confusing them is the single most common measuring error we see from first-time customers. These are sometimes called internal dimensions and external dimensions instead — same measurement, different name — so if a spec sheet uses one term and a supplier uses the other, they're asking the same question. Spec sheets list length and width before depth for the same reason, so transposing the first two numbers is an easy mistake to make and an expensive one to catch late.
Why Interior Dimensions Matter
Every box has two sets of dimensions, and they exist because corrugated board, chipboard, and rigid stock all have thickness. A box built from double-wall corrugated can lose a quarter-inch or more per wall to board thickness alone, so a case listed at 12" exterior length might only hold 11.5" of actual product. If you're sizing a box around a product — a bottle, a folded garment, an electronics unit — interior dimensions are the number that matters, because that's the space the product physically occupies. Exterior dimensions matter for a different reason: they determine how the box fits in a shipping lane, on a warehouse shelf, or stacked on a pallet, and they're what carriers use to calculate freight and parcel rates. Mixing the two up is how brands end up with cases that look right on paper but won't close, or product boxes that fit the item but blow past a retailer's shelf-depth limit.
Measuring for Shipping vs. Product Fit
The right approach depends on what question you're answering. If you're figuring out whether a box will survive a carrier's network and clear a rate bracket, measure exterior dimensions and round up — carriers measure the outermost point of the box, including any bulge from overpacking. That's the logic behind most shipping boxes, which are built with a small buffer between the product and the case walls for void fill, so nothing shifts in transit even after a few drops off a conveyor belt. If you're figuring out whether a product will actually sit inside a box the way you expect — a folded shirt, a stacked set of jars, a subscription bundle — measure interior dimensions and work outward from there. E-commerce brands packing individual orders often size around interior clearance first, then check that the resulting exterior footprint still fits a standard parcel bracket, which is exactly the balancing act built into most mailer-style boxes designed for direct-to-consumer shipping.
Dimensional Weight
Once you have accurate exterior dimensions, run them through the dimensional weight formula most carriers use: Length × Width × Height (in inches), divided by a carrier-specific DIM divisor (commonly 139 for domestic US parcel shipping, though carriers and services vary). The result is a "dimensional weight" in pounds. Carriers bill whichever is higher — the box's actual weight or its dimensional weight — so an oversized box shipping a light product can cost noticeably more than its scale weight would suggest. This is the financial reason interior-vs-exterior precision matters beyond just fit: a box with an extra inch of unused interior space on every side doesn't just waste board, it can push a shipment into a heavier billing tier.
Common Measuring Mistakes
A few errors show up again and again in incoming specs. Measuring at the widest bulge of a used or overfilled box instead of a flat, empty one throws off every number that follows. Swapping length and width is harmless for a perfect square but throws off dieline layout on anything rectangular. Measuring exterior dimensions and assuming they're interior (or the reverse) is the costliest mistake, since it's often not caught until a completed run doesn't fit the product. And rounding too aggressively — calling something "12 by 9 by 4" when it's actually 12.25 by 9.125 by 4.375 — can be the difference between a snug, professional fit and a box that rattles or won't close.
Worked Example
Say you're packing a candle in its retail sleeve: the sleeved product measures 3.25" wide, 3.25" deep, and 4.5" tall. Add a small clearance allowance — roughly 0.25" per dimension is standard for a snug non-rattling fit — and your target interior dimensions become 3.5" × 3.5" × 4.75" (L × W × D). From there, factor in board thickness (often 0.125"–0.25" per wall on single-wall corrugated) to arrive at the exterior footprint you'd actually quote for freight or shelf space. Before committing to a production run at that size, it's worth building a physical prototype — a flat proof can't tell you whether a lid seats flush or a sleeve slides in without binding, and catching a half-inch error at the prototype stage is far cheaper than catching it in a finished pallet of boxes. Once you have length, width, and depth confirmed, add clearance the same way for every box in the line, not just the first one.
Final Tips for Measuring Boxes Accurately
A few habits make measuring boxes accurate and repeatable, whether you're spec'ing one prototype or auditing a whole SKU list:
- Measure empty, measure flat. A box under load reads differently than one sitting flat and unfilled, especially for irregular items — always take box dimensions before anything goes inside.
- Record both measurements on the same sheet. Internal dimensions and external dimensions, labeled clearly, so nobody downstream has to guess which one they're looking at.
- Recheck after the first sample. A prototype's actual box dimensions can drift slightly from the drawing once board thickness and glue lines are factored in — measure the physical sample, not just the file.
- Convert to shipping costs before you commit. Run the exterior numbers through the dimensional weight formula so a box that looks fine on paper doesn't turn into an expensive one to ship once a carrier bills it.
Getting accurate measurements at each step — product, prototype, and final production run — is what keeps a box order from turning into a costly reprint.
How to Measure a Box: Common Questions
What order do you list box dimensions in? Length, then width, then depth (L × W × D), read as the longer side of the opening face, the shorter side of that same face, and the vertical dimension from opening to bottom. Some suppliers use "height" interchangeably with depth — if a spec sheet is ambiguous, ask which convention it's using before you cut a dieline.
Should I use interior or exterior dimensions when requesting a quote? Give both if you have them, but interior dimensions matter most for product fit and exterior dimensions matter most for shipping and shelf space. If you only have one, tell your supplier which one it is — a good manufacturer will ask rather than assume, since the difference in board thickness can be a quarter-inch or more per wall.
How much clearance should I add between my product and the box? A common starting point is 0.25" per dimension for a snug fit with minimal void fill, or up to 0.5" per dimension if you're adding inserts, tissue, or extra padding. The right number depends on the product's rigidity and how much movement it can tolerate in transit, which is exactly what a physical prototype is built to confirm.